In the rapidly evolving world of mobile app development, Flutter has gained immense popularity for its ability to create stunning and high-performance apps across multiple platforms. Flutter’s framework allows developers to build beautiful user interfaces, deliver native performance, and streamline development. In this blog, I will walk you through building and releasing a Flutter app on the Android platform, from setting up your development environment to distributing your app on the Google Play Store.
Table of Contents
Prerequisites
- Install Flutter and Dart: Make sure you have Flutter and Dart installed on your machine. Follow the official Flutter installation guide for your platform.
- Android Studio: Download and install Android Studio, which comes with useful tools for Android app development.
- Google Play Developer Account: Create an account on the Google Play Console to publish your app on the Play Store.
Develop your app
In this blog, I’ll be building and releasing one of the app which I built earlier in one of my earlier blogs (Simple Todo app with Flutter). However, you can follow this tutorial to release your own app. As a learner, and want to experience the app releasing process, you can follow along with my app. Run the following command to clone my repo.
git clone https://github.com/5minslearn/Flutter-Todo-AppBefore proceeding with the app-building process, it’s crucial to ensure that our app runs smoothly on a simulator or a physical device, without encountering any errors. Open the repo in VS Code and press F5 to run the app on your phone / emulator.
Building App
Customizing a launcher icon
When a new Flutter app is created, it has a default launcher icon. To customize this icon we need to follow the below step.
- You can create your own Icon by following this guideline.
- In the
[project]/android/app/src/main/res/directory, place your icon files in folders. The defaultmipmap-folders demonstrate the correct naming convention. - In
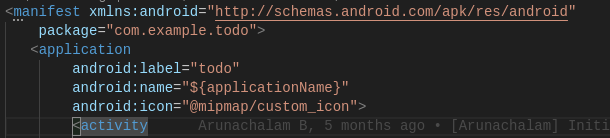
AndroidManifest.xml, update the application tagsandroid:iconattribute to reference icons from the previous step (for example,).
I created an icon named custom_icon.xml with multiple resolutions (mdpi, hdpi, xhdpi, xxhdpi, xxxhdpi).
48 × 48 (mdpi)
72 × 72 (hdpi)
96 × 96 (xhdpi)
144 × 144 (xxhdpi)
192 × 192 (xxxhdpi)
Placed each icon in the respective mipmap- folder. And finally referred them in the AndroidManifest.xml.
        .....
        .....
I am utilizing ColorControlNormal in my custom icon file (icon.xml).
colorControlNormal is a value that refers to a color attribute that is resolved at runtime, allowing the drawable to match the color theme of the app.
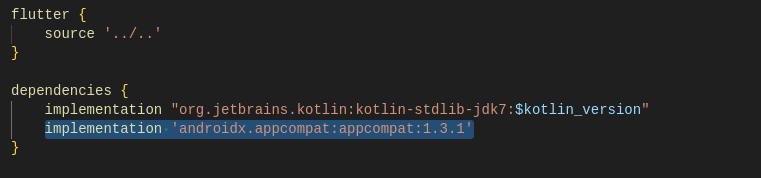
As I’m using an older API version, this function isn’t accessible within the older API. As a solution, I’ve included the appcompat library in my app/build.gradle file.
...
dependencies {
    ....
    implementation 'androidx.appcompat:appcompat:1.3.1'
    ....
}
....
That’s it. Our configurations are done. Let’s try to run the app and look at the icon in the device.
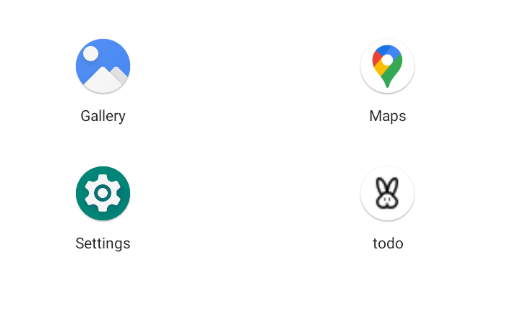
The one with the rabbit’s face is the one I created. It has been successfully applied to our app. Without any delay, let’s get into building our Android application.
Generate Keystore
Why do we need to Generate Keystore?
A keystore in Flutter, specifically for Android, is a secure container used to store cryptographic keys and certificates. It’s important to maintain the security of your app, especially when dealing with sensitive information such as API keys, authentication tokens, and encryption keys. The keystore ensures that these sensitive assets are stored in a way that makes them difficult to extract from the device.
- Security: Storing sensitive information in a Keystore ensures that it is protected from unauthorized access, even if the device is compromised.
- Compliance: Many regulations require apps to protect sensitive data. A keystore helps you meet compliance standards.
- Encryption: If your app uses encryption, the keystore provides a secure location for storing encryption keys.
- Credentials: If your app communicates with APIs or services that require credentials, using a keystore can prevent those credentials from being easily extracted.
How to Create a Keystore
To create a Keystore, you typically use the keytool utility that comes with the Java Development Kit (JDK).
keytool -genkey -v -keystore my-release-key.jks -keyalg RSA -keysize 2048 -validity 10000 -alias my-key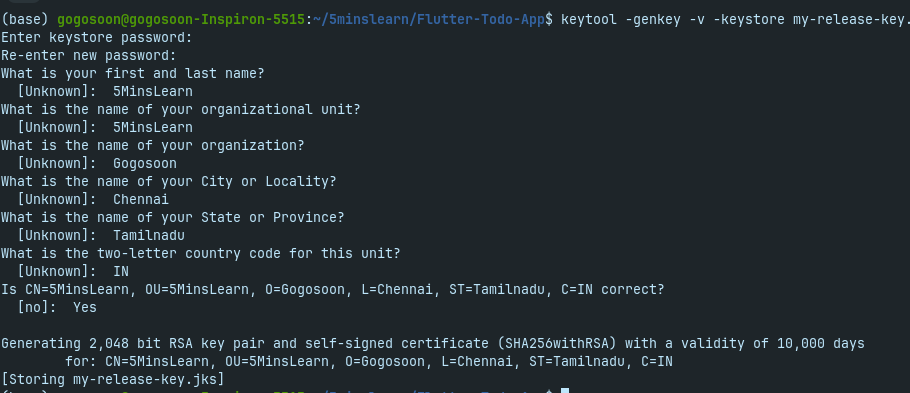
Generate APK or AAB
APK (Android Package) and AAB (Android App Bundle) are distribution formats used to package and distribute Android applications. It is recommended to build app as AAB over APK due to the following benefits.
- Smaller downloads and faster installations due to optimized APKs.
- Improved efficiency in resource usage and reduced storage consumption.
- Dynamic feature delivery support for delivering features on-demand.
- Enhanced optimization for specific device configurations.
flutter build appbundle
or
flutter build apk
We cannot directly install an Android App Bundle (AAB) file on a mobile device. An AAB is not an executable package like an APK (Android Package) file that can be directly installed on a device. Instead, the AAB is a publishing format designed for optimized delivery on the Google Play Store.
When you publish your app on the Google Play Store using an AAB, the Play Store uses it to generate APKs that are tailored to each user’s device configuration. This dynamic generation allows the Play Store to deliver only the necessary resources and code for a specific device, reducing the app’s size and improving performance during installation.
Releasing App
To release our app on the Google Play Store, we’ll require a Google Play developer account. We can create an account by visiting this link. Please be aware that there is a registration fee of at least $25 associated with the process.
Google Play Console
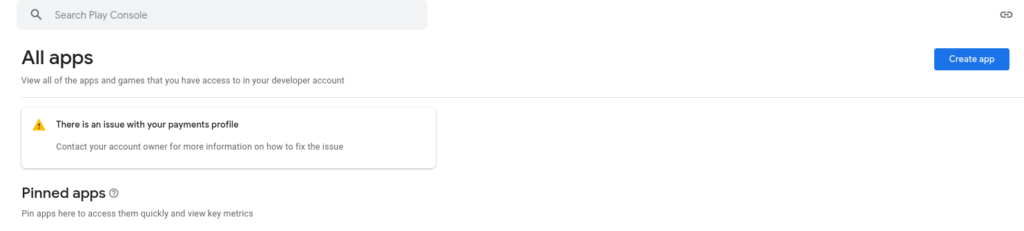
Click on the Create app button in the All apps section. Enter the app details in the “Create app” form.
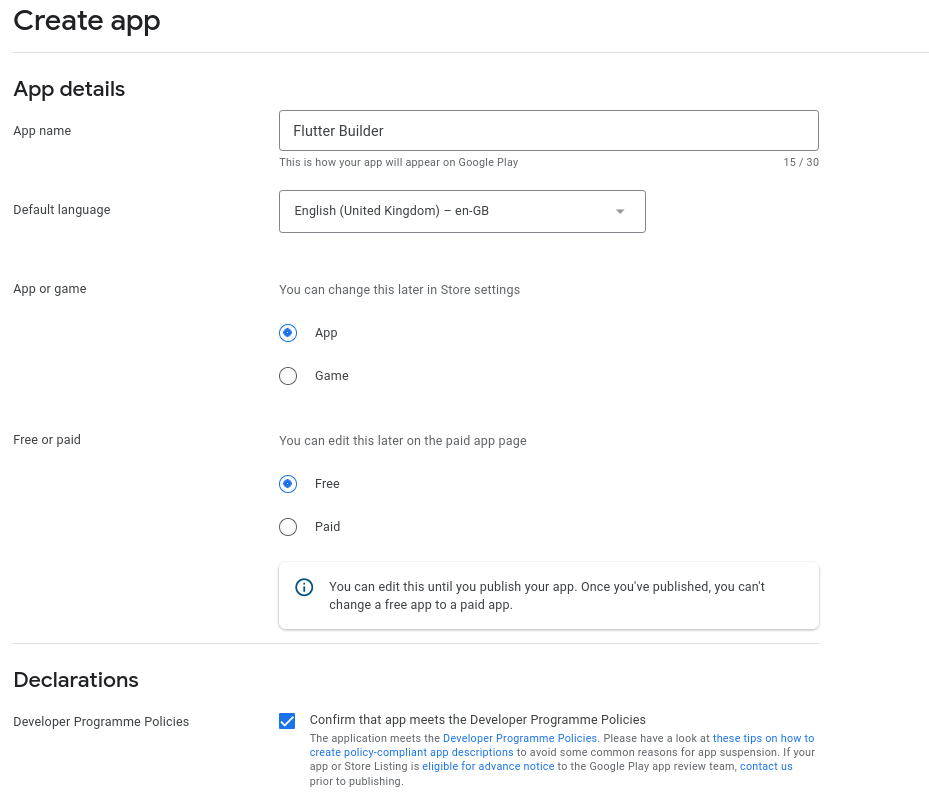
After creating the app, we have to go through multiple tasks to release the application.
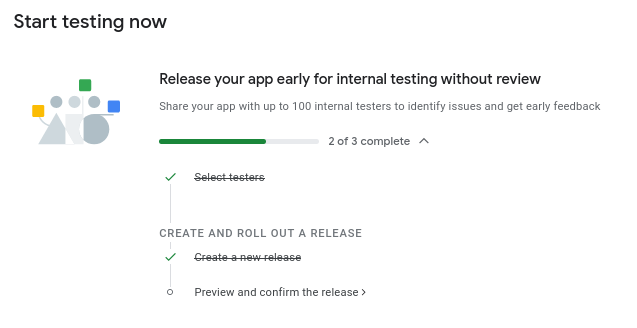
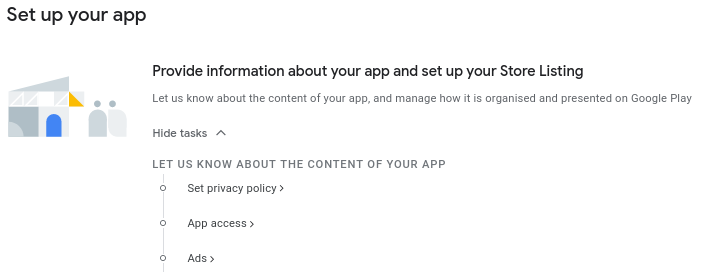
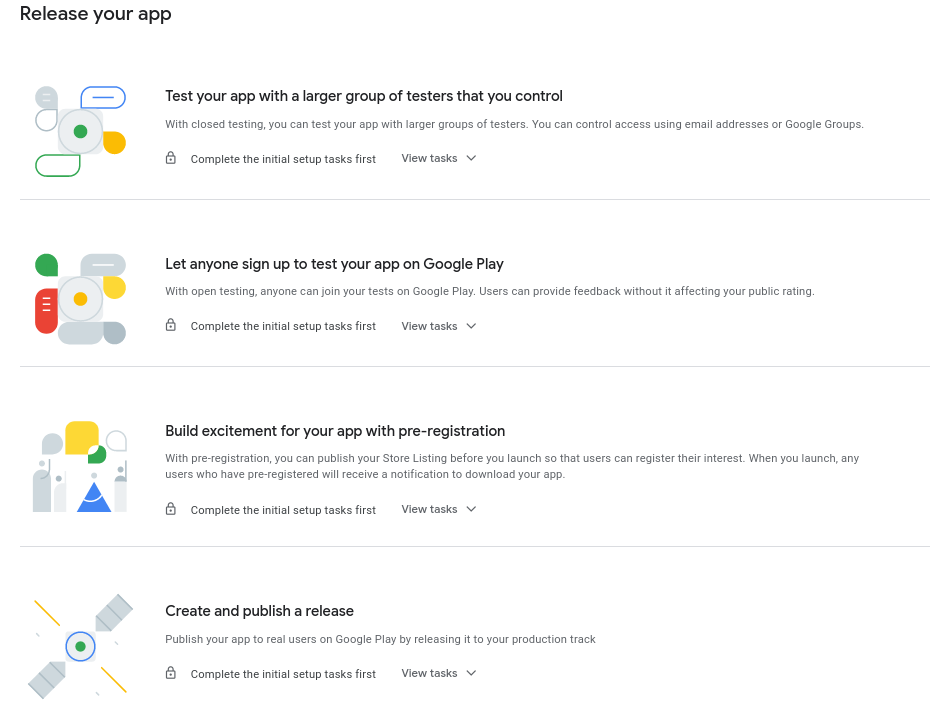
However, all these steps will be self explanatory. At each step, you’ll be prompted for information about your application, advertisements, privacy policy, and more. It’s important to note that you can proceed to publish only after completing these steps. Make sure to mention everything clearly. Especially the questions about data collection. Because, at any time if Google found that your prescribed information is wrong, your app will not be published or will be taken out, if it’s published.
After completing these steps, we have to send the app for review. Our app will be published once the review is completed from Google Play team. It’s important to note that there’s a higher chance of the app getting rejected if it has security or advertising-related issues. Therefore, make sure to thoroughly review your app to ensure that it doesn’t have any potential problems in data collection. This will contribute to a smoother and more successful app release experience.
Conclusion
Throughout this tutorial, we’ve covered the process of changing the app icon and building a Flutter app for Android. While this example provides a foundational understanding of Flutter app development, it’s important to note that real-world app complexities may require additional custom configurations in Android. For further insights, I encourage you to explore the official documentation, which offers comprehensive guidance on more advanced aspects.
I hope this tutorial has provided you with valuable insights in your Flutter journey. Thank you for investing your time, and best of luck in your app development endeavors!
If you wish to learn more about Flutter, subscribe to my article by entering your email address in the below box.
Have a look at my site which has a consolidated list of all my blogs.