We help teams unlock AI to automate workflows and grow revenue.
GoGoSoon is an AI-first consulting firm. We design, build, and deploy AI agents, automations, and products that cut busywork and lift the top line — without bloating your team.
Trusted by teams shipping AI in production
What we do
AI services that move the metrics that matter
From audit to deployment, we partner with your team to ship AI that actually pays back — measured in hours saved and revenue earned.
AI Workflow Automation
Replace repetitive ops with AI agents and pipelines. We map your workflows, identify automation surface, and ship.
- Agentic workflows
- Document & data pipelines
- Internal copilots
AI Product Engineering
Ship LLM-powered products end-to-end. RAG, evals, agents, fine-tuning — production-grade from day one.
- RAG & search
- Custom agents & tools
- Evals & guardrails
AI Strategy & Audit
An AI audit of your business and a 90-day roadmap with ROI estimates. We point you to the right bets first.
- Workflow audit
- Build vs. buy
- ROI roadmap
Web & Mobile Apps
Modern web and mobile apps built with AI in the loop — faster iteration, cleaner code, sharper UX.
- Next.js / Astro
- React Native
- Design systems
Growth & Marketing AI
AI-powered content, SEO, and lifecycle marketing — built into your stack, not bolted on.
- SEO & content engines
- Lifecycle automation
- Funnel analytics
Not sure where to start?
Book a free 30-min AI audit. We'll map your top automation wins and ship a 90-day roadmap.
How we work
A pragmatic path from idea to production AI.
No 6-month strategy decks. We ship working software in weeks, measure outcomes, and compound wins from there.
Book free audit- 01
Audit
We map your workflows, data, and team. Identify the top-3 AI opportunities ranked by ROI and time-to-ship.
- 02
Prototype
In 2 weeks, we deliver a working prototype on real data — not a slide deck — so you can feel the impact before scaling.
- 03
Ship
Production deployment with evals, guardrails, observability, and a clear handoff. Built to last, not to demo.
- 04
Scale
We embed alongside your team, expand wins across the org, and graduate you off our retainer when ready.
In-house AI products
We don't just consult — we ship our own AI products.
These products are battle-tested by real users every day. The same patterns and playbooks power the work we deliver for clients.
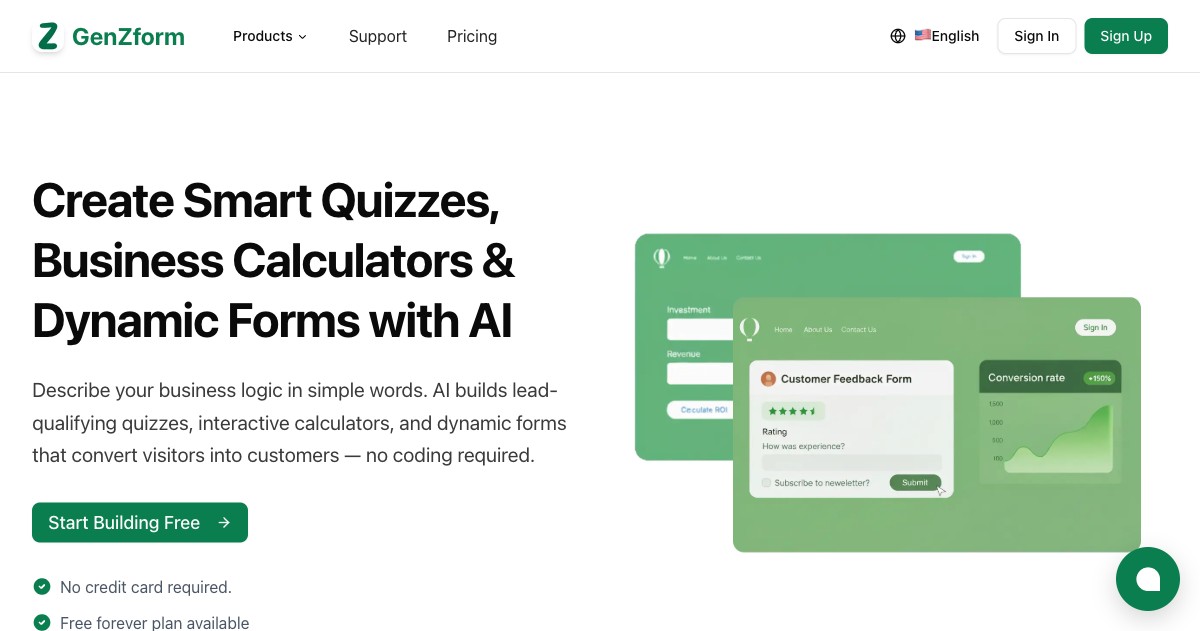
GenZform
Create professional forms, quizzes, and website calculators with simple AI prompts.
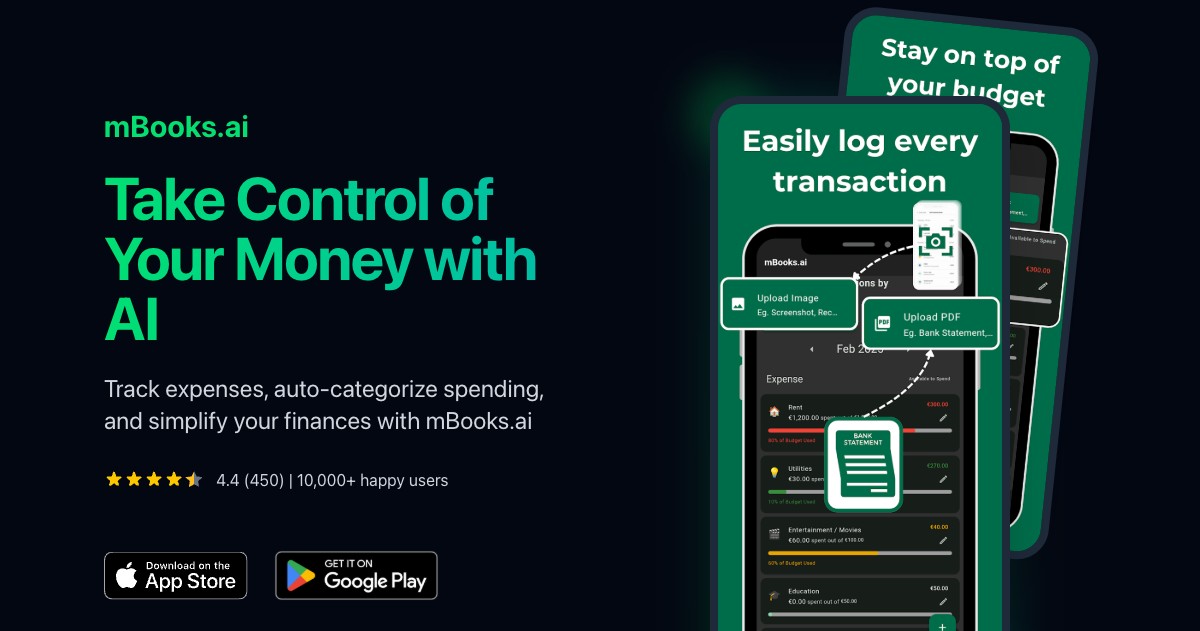
mBooks.ai
Privacy-focused, AI-powered semi-automated expense tracker for individuals and teams.
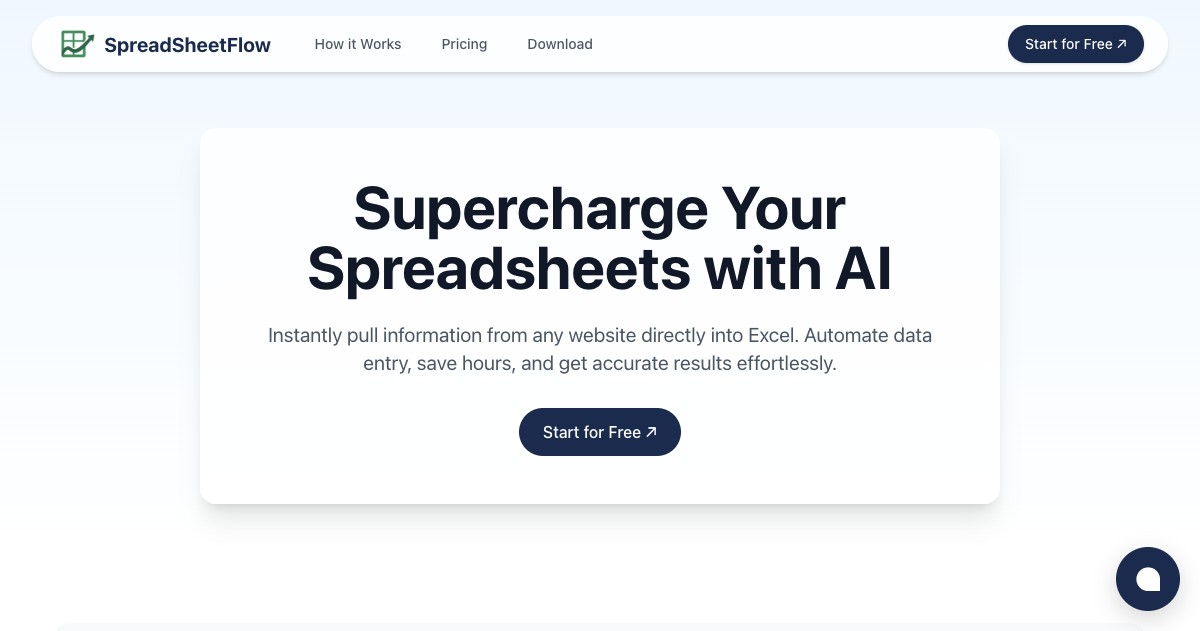
SpreadSheetFlow
Instantly pull structured information from multiple websites — straight into your sheet.
Selected work
Products our team has shipped — and still maintains.
A snapshot of recent engagements across SaaS, PropTech, EdTech, and commerce.
HOA Messenger
Centralized platform for HOA managers — messaging, work orders, violations, payments, and accounting.
- ReactJS
- TypeScript
- AWS
- NodeJS
- Stripe
RentScore
Decision tooling for real estate investors — rent analytics, calculators, history, and reports.
- Next.js
- TypeScript
- AWS
- Strapi
Hirncoach
Brain courses and games for mental fitness, with SSO and seamless LearnWorlds integration.
- Next.js
- TypeScript
- NodeJS
RedBack Boots
Authentic Australian-made work boots delivered across the USA — full checkout, shipping, and gift cards.
- Drupal
- PHP
- Stripe
- UPS API
DigiJournal
Tablet journaling app that mirrors paper, works offline, and exports records as signed PDFs.
- React Native
- TypeScript
- NodeJS
"We've been working with GoGoSoon for almost two years. Their work is efficient, innovative, and they keep finding new solutions on the way. They built our assessment portal and customer support portal — all connected together — and we now have far fewer technical errors. A reliable, creative team I can really recommend."


Free 30-min AI audit
Tell us your workflow. We'll find the AI wins.
Bring a workflow that drains your team. We'll come back with the top automation candidates, a rough ROI, and the build plan — on the house.